live life, celebrate food, share both with those you love

Friday, 1 February 2013

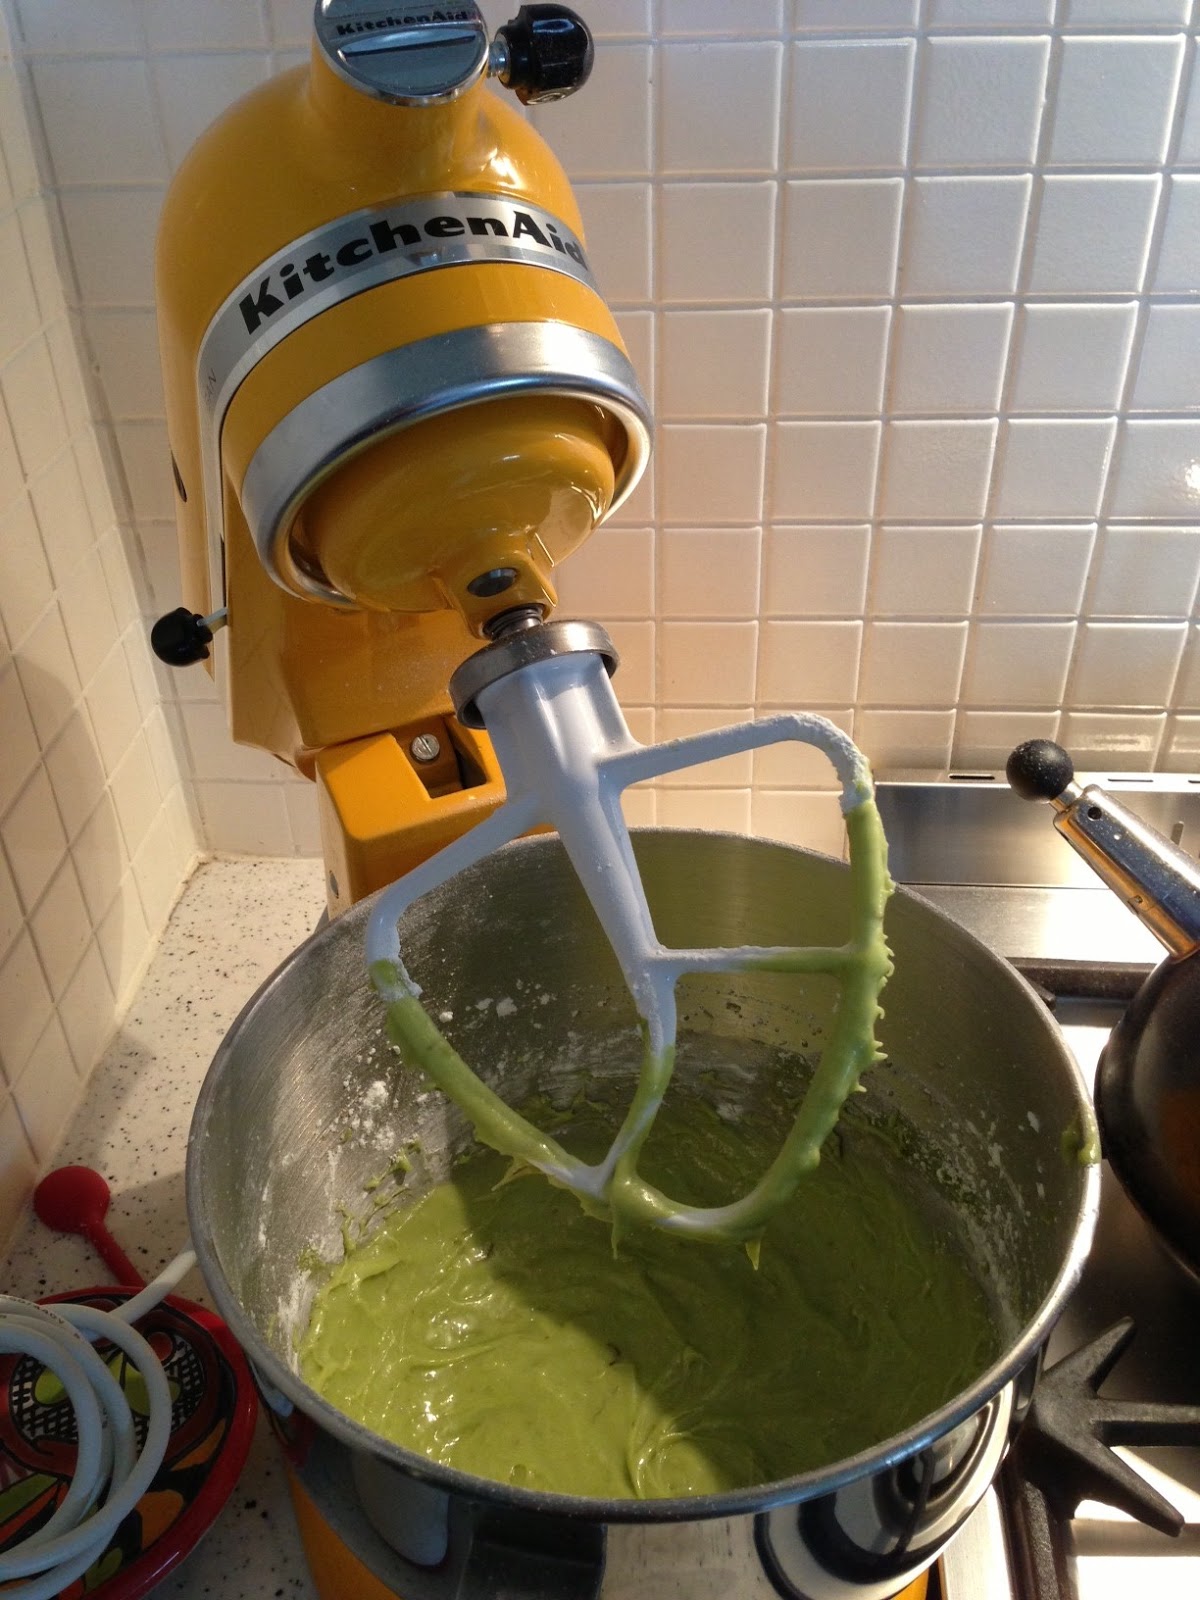
My shiny new toy!

Isn't she pretty! Yes, I know I technically asked a question, but it's way more of a statement, so I will stand by my gramatically incorrect exclamation point, instead of a question mark!

Mr B and I recently celebrated our 10th wedding anniversary... we can't believe how much time has flown past! We always try to give each other a little something on this important day, but both of us pulled out the big guns, this year... really BIG guns! There was a simply divine visit to Vue De Monde, I'll be sure to blog about that once I've finished digesting the 17 courses :) I gave Mr B a fabulous BBQ just in time for summer... but it's a built in, so hopefully it'll be installed before next summer - didn't think that through, did I?

I thought I might get an iPad. Those who know me well would probably think it an appropriate present. Instead, I was presented with a simply gorgeous ring... ok, I picked it, but he surprised me by taking me shopping!

And then the piece de resistance... my very own, shiny, brand new KITCHEN AID ARTISAN MIXER!!!!!!!!! (enough exclamation points? I'm not sure if you understand the excitement!)

I have coveted one of these work horses for years. I almost purchased one the year we lived in San Francisco, but I knew I wouldn't be able to bring it back home - stupid voltage conversion. I simply couldn't bring myself to buy one here in Oz, as the price was always ridiculous! When the US dollar was at its peak, these mixers cost $900, sometimes more, insanity!

We finally saw one at a much more reasonable price and although I was adamant that I already had a mixer (Breville) and didn't need this, Mr B put his foot down and insisted. Isn't he a dreamboat? ;)

My next dilemma... which color? There were 13 on offer! The safe part of me wanted the Gun Metal Grey, the only mixer in a beautiful matt finish. It's dark and broody... ha, it's me, to a tee! But this is Kitchen Aid and I just had to get a color. So after a frantic phone call to my sister - who lives in Dallas, Texas - I decided on Yellow Pepper... and I heart her!
Can you guess what I'm making? Bet you can't!

Tuesday, 15 January 2013

Mini Banana+Date muffins… no added sugar!


MissC chomping on a muffin in her trike

How yummy are muffins?! Ok, so we know they are not great for the waist line, but darn it they are tasty!

I’ve always had a good relationship with food. I enjoy it and most of the time I don’t feel guilty! But since my little one started eating, I’ve started to look at food slightly differently. I still enjoy it, but I want to improve the nutrition/quality these days. You’d be surprised how many times I’ve removed half the sugar or butter/oil and you can’t taste the difference.

Here’s a great recipe for little tummies and it’s sugar free but still super sweet. The sweetness comes from the overripe bananas and the dates. You could skip the dates, but remember this is extra fibre which is an added bonus in most diets these days.

Ingredients
1 c self raising flour (white or wholemeal, whichever you prefer)
½ tsp cinnamon
5 dates, seeds removed and chopped into small pieces
3 overipe bananas, mashed
50g butter, melted
2 eggs, beaten
¼ c milk

How to...
- Preheat your oven to 190 degrees C.
- Grease 2 x mini muffin pans or line with paper cases. (I prefer to grease so little ones don’t have to mess with paper cases, plus better for environment, right?)
- Grab a mixing bowl and mix together your flour, cinnamon and dates.
- In another bowl, squash your bananas so that they are mushy. Then add your milk, butter and eggs and stir well.
- Add your banana mix to the flour mix and stir until just combined. If you over stir your muffins will be chewy, you have been warned!
- Drop tablespoons of the batter into your muffin trays.
- Bake for 12-15 minutes, until slightly golden.
- Allow to cool on a wire rack before gobbling these down with a glass of cold milk! Mmmmm!

Monday, 13 August 2012

Apron strings and pretty things...

Ever since the voluptuous Nigella Lawson bounded onto our television screens, a certain 'goddess within' mentality has blossomed in the food world. Even those who don't enjoy cooking, will now strive to have the prettiest kitchen things... including yours truly!

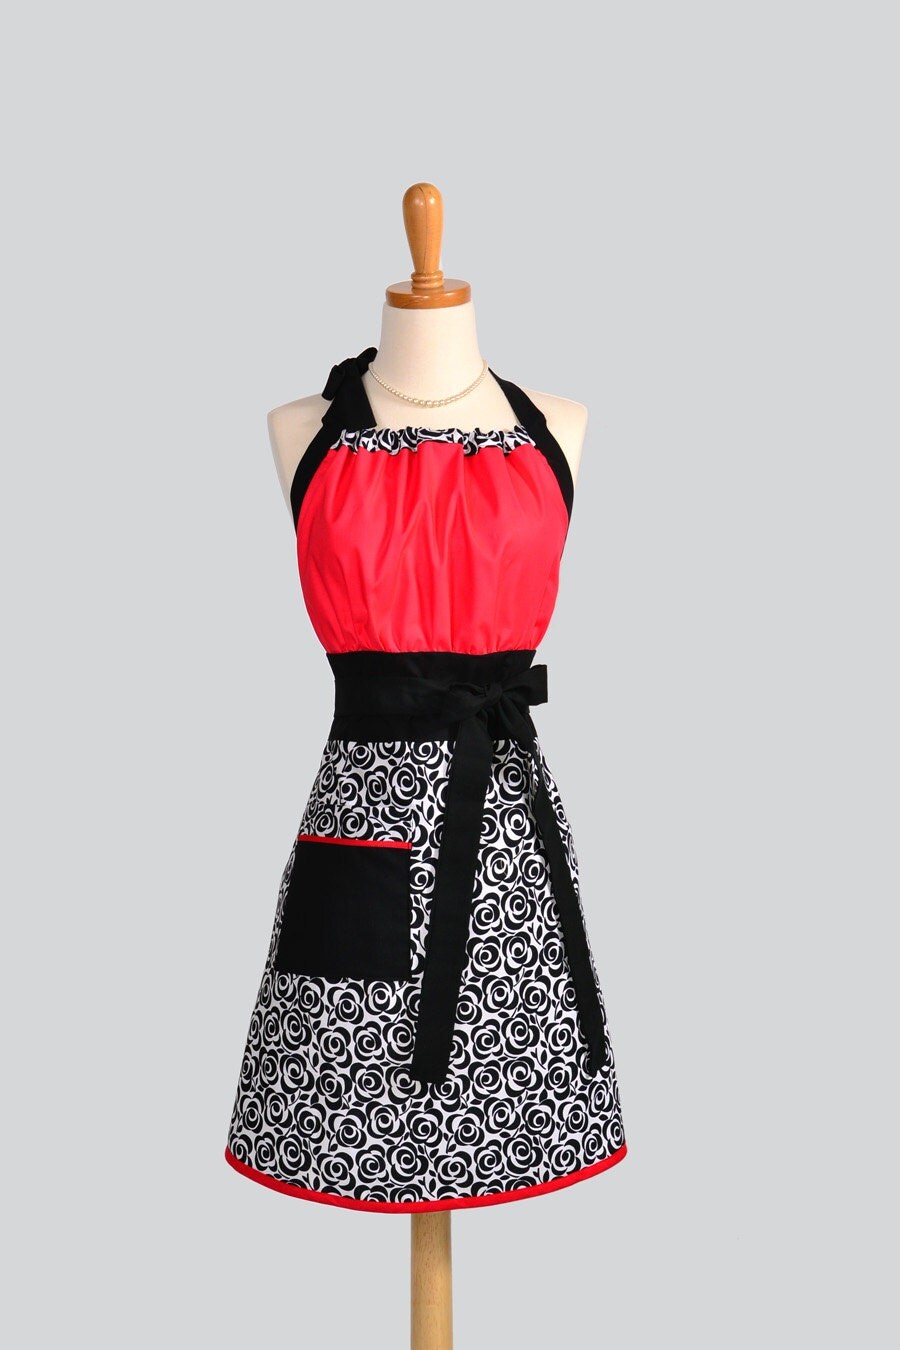
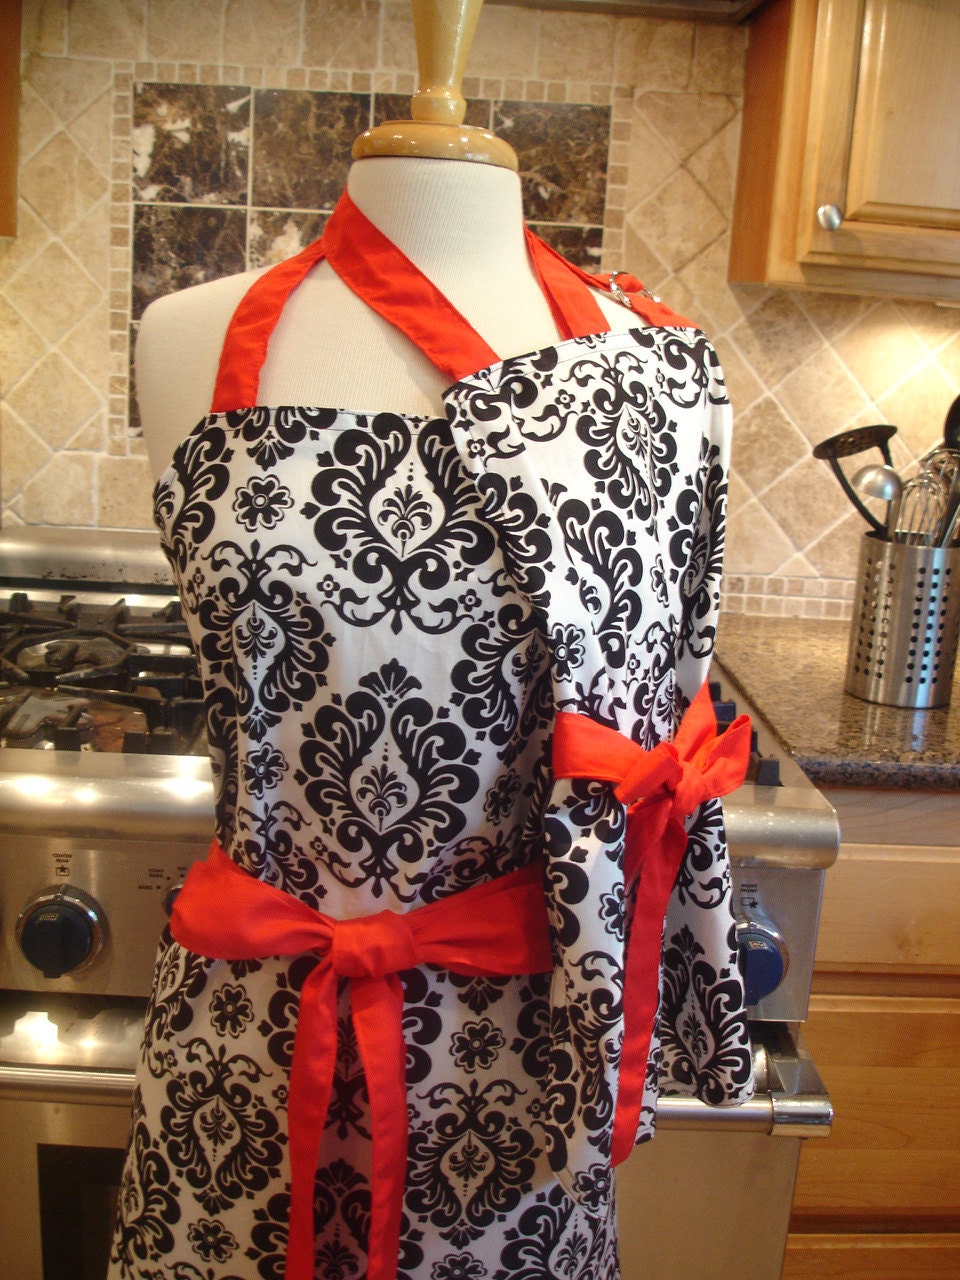
The latest must have item... a truly unique apron! Squeal!!! Here are the four contenders, how will you vote?

a) sassy ruffles?
b) cute kitsch?
c) mummy and me matching set?
d) retro polka dots?

Leave your suggestions below!
http://www.etsy.com/listing/92571582/sassy-ruffles-apron-red-black-white-dots
http://www.etsy.com/listing/104300820/cute-kitsch-apron-white-with-black-roses
http://www.etsy.com/listing/88597246/mommy-and-me-retro-apron-set-mother

Tuesday, 3 July 2012

Sticky Date Cupcakes

I love a good sticky date 'pud', but sometimes I find they are a little heavy and not very friendly to the old waistline. So here's a lovely, simple, lighter version... more of a cupcake then a pudding... but just as delicious!

Ingredients
1 1/4c pitted dates
1 1/4 water, boiling hot
1 tsp bi-carb soda
50g butter, melted
1/2 c brown sugar
2 eggs, lightly beaten
1 c self raising flour

How to...
- Preheat oven to 180 degrees C
- Grease a standard muffin tin, or line with paper cases.
- Place the dates and water in a food processor (or a powerful blender, see note) and whizz until smooth.
- Pour mixture into a mixing bowl, stir in bi-carb soda and let sit for 5 minutes. The mix will foam up a little.
- Stir in the butter and brown sugar, until smooth. 
- Add the eggs and flour and stir until combined and smooth.
- Pour the batter into the muffin tin and bake for 30-35 minutes or until cakes spring back when touched.
- Let stand for 5 minutes in the tin, then transfer to a wire rack to cool.
- You could make a caramel sauce to pour over but I find a dust of icing sugar and a little scoop of ice cream is a sure winner!

Note: be very careful when using a processor or blender to whizz up anything hot. The trapped steam can force the lid off once the blades start spinning, sending the ultra hot contents all over you! I use a Kitchen Aid blender and I've never had this problem but this has happened to me with less powerful blenders. PLEASE use the pulse button first to see if the lid will stay put.

Monday, 18 June 2012

My Thai Chicken Curry

My sister was recently visiting from the US and as anyone with international guests knows, at some point you will land up cooking for an army of people! My family, plus the in-laws, meant I was cooking for 12 people one night including 5 adult men who eat like it's there last meal... you know who you are!!

When you have a bunch of mouths to feed, you have to cook one big pot of something that everyone will enjoy, but I like to add a heap of condiments so everyone can alter their bowl to their preference. I think it makes the meal a bit more fun, especially for the little kiddies!
Too many choices, Mama!
So here's my award winning Yellow Thai Chicken Meatball Curry as enjoyed by little people, 3 yrs old, all the way to Great Grand people - 94 yrs old and still kicking! (By award winning, I mean every bowl was practically licked clean, that's the biggest compliment for any cook in my book!)

Ingredients
mmmm, saucy!
500gr chicken mince
1 egg, lightly beaten
1 small onion, finely diced
Handful of dry breadcrumbs (I use cornflake crumbs)
Small handful of chopped coriander or parsley
Salt and pepper
Jar of Yellow Curry Paste (I use Valcom brand)
400ml can of coconut milk or cream, whichever you prefer
100-200ml of chicken stock, optional
2 tbsp fish sauce
1 tbsp sugar
Serve with rice

Condiments - this is optional but it makes this meal so much fun! Put everything in little bowls and let everyone help themselves to their favorites:
grated carrots, beansprouts, corn, finely sliced spring onions, coriander leaves, sliced chillies, roasted cashews, finely sliced snowpeas, lime wedges.

How to...
- Preheat oven to 180 degrees C
- Cook your rice according to the packet instructions.
- Mix the chicken mince with the beaten egg, onion, crumbs, herbs and a good pinch of salt and pepper.
- Heat a little oil in a frypan over medium heat.
- Roll a tablespoon of the mince mixture in your hands to make a meatball.
- Gently drop the meatballs into the hot pan and fry off so the balls are golden brown all over. Don't worry about the meatballs being raw in the middle, we'll finish the cooking in the oven.
- Scoop the golden meatballs into an ovenproof dish. Once they are all golden, pop them in the oven to finish cooking for 10 minutes. (Break one open to check they are cooked)
- While the meatballs are cooking, get your condiments ready and take to the table.
- Heat the frypan again on a medium low heat and fry off 4-5 tbsps of the curry paste until fragrant. You have to cook the paste as the ingredients are raw. And don't overheat the pan or the paste will spit.
- Once fragrant, add the coconut milk, fish sauce and sugar. Add as much stock as you like to make more sauce. This is optional but I add the stock as it cuts through the heaviness off the coconut - good tip for anyone watching their weight too.
- Add the meatballs to the sauce and you're done!

This recipe feeds four, but you can easily make more or less depending on your crowd. This also freezes really well if you want to make in advance.

Mama's bowl, yum yum!